Preparing Homemade Brisket in the Oven
How to satisfy that BBQ craving, no smoker necessary.
Everybody knows that simple Salt & Pepper Seasoned Beef Brisket is a major player in the BBQ universe. Heck, many would argue that it’s the king of all slow-smoked meats. Whether you slice it thin for sandwiches or cube it up for burnt ends, this tender, juicy backyard staple is the perfect centerpiece for any summer cookout.
Unfortunately, summer doesn’t last all year long. And for many of us, that means winterizing the grills and smokers (if you haven’t done that yet, check out this quick and easy guide from BBQ Guys), packing them away for winter and dreaming of lighting up that first fire in the spring. But guess what? IT DOESN’T HAVE TO BE THIS WAY!
Roasting brisket in the oven allows you to enjoy this wonderful cut all winter long. And while nothing can replicate the wood-fired taste of outdoor cooking, this oven-roasted brisket means no tending a fire, no constantly adjusting intakes or exhaust vents and no sitting out in the cold babysitting your brisket.
Step 1: Set Up
Ready to get roasting? Then let’s get started! Preparing your brisket in the oven is as easy as following five simple steps.
For this cook, we’re going to be rolling low and slow, so set your oven to 250ºF. As it comes up to temp, place a small metal container with water on the lower rack close to the oven’s burner. Throughout the cooking process, this will keep your oven nice and steamy, ensuring the brisket comes out tender and juicy.

Step 2: Get Cooking
Once the oven comes up to your 250ºF target temperature, remove brisket from packaging, place on an ovenproof tray, and place it in the oven. Set a timer for two hours and walk away. And no peeking! Opening the oven creates a dip in temperature and moisture, and that heat and steam is critical to rendering fat and maintaining a juicy brisket.
Step 3: Wrap
Speaking of juicy, wrapping your brisket is the perfect way to maximize the retention of the natural fat and juices that make this cut great. And the process that many BBQers call “the Texas crutch” still works when you’re cooking in the oven instead of on the smoker.
After your brisket has been in the oven for two hours, you’re going to want to pull it out and wrap it tightly in aluminum foil. Careful – your brisket will be pretty hot to handle, so a good pair of BBQ tongs or heat-proof gloves may be necessary (and both come in quite handy during grilling season, anyway). Once your brisket is wrapped, place it back on your oven-proof tray and get it back in the oven!
Step 4: Finish
Once wrapped, your brisket will cook low and slow in your 250º oven for four more hours. Yes, that’s quite a long time. And the smell that fills the house as it cooks may seem irresistible. But you can’t rush greatness. We promise, the end result will be SO worth the wait. Before removing your brisket from the oven, make sure the internal temperature has reached at least 160ºF as measured by a meat thermometer– that means it’s safe to eat. But, don’t fret if it’s hotter than that, that just means your brisket will be extra-tender.
Step 5: Enjoy
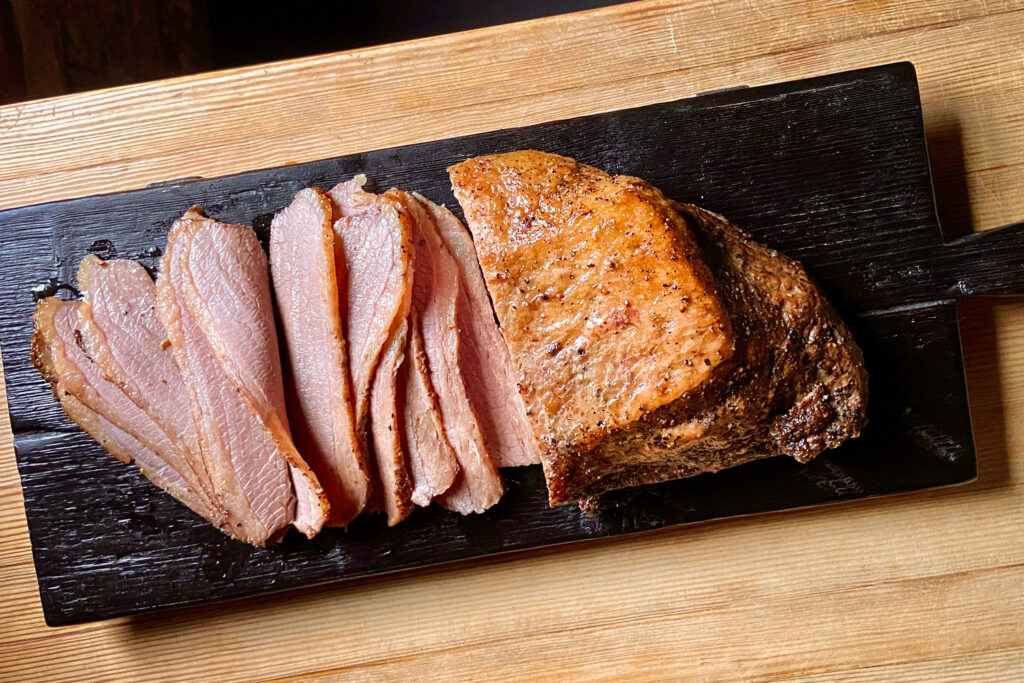
After hours of cooking (and smelling) your brisket, remove it from the oven. After transferring it to a cutting board, cut your foil open to let steam escape and let the brisket rest for 30 minutes. This step will give the natural juices in the brisket time to redistribute in the meat, ensuring every bite is equally tender and as decadent as possible.

Wintery Brisket Ideas
When outdoor temperatures take a dip, typical cookout sides like crunchy coleslaw or cold potato salad may not feel quite as comforting as they do in the summer.
The Roastest with the Mostest
Pot roast with mashed potatoes and roasted root vegetables is a tried-and-true cold-weather classic. Serving up brisket instead of a more traditional chuck roast is a great way to put a BBQ spin on this universally loved meal. Try subbing in BBQ sauce for a typical brown gravy to top your brisket for a little added backyard flair!
Scrumptious Sandwiches
When you have brisket this good, it doesn’t take a lot of extra cooking to bring a delicious meal to life. Simply pile thin slices high on your favorite hamburger bun or plain ol’ white sandwich bread, then top it with your favorite BBQ sauce and a few slices of dill pickle. For a side dish, you can dream up any number of things, but a good potato chip makes a wonderful BBQ sandwich companion in any season, don’t you think?
Brisket Mac ‘n’ Cheese
Whether you make yours from scratch or just whip up the version that comes in everybody’s favorite blue box, brisket can help you take your mac ‘n’ cheese game to a whole different level. Just chop up your sliced brisket into bite-size bits and mix it in for a heaping helping of meaty, cheesy decadent deliciousness.
If you’re feeling creative, try adding even more flavor boosters like jalapeño peppers, your favorite hot sauce or BBQ sauce, scallions, caramelized onions or even a dash of your favorite BBQ rub.
–
Whether you prefer to simply slice and serve or use your brisket to give other dishes a beefy twist, we’d love to see it! Feel free to share your creations on Facebook or Instagram. And if you need this easy and delicious oven-roasted Salt & Pepper Seasoned Beef Brisket in your life sometime soon, simply hit up our product locator to see where you can get one.
