Up Your Grill Skills: Grilling Tips for the Summer
Finally we’ve reached the season when your grill gets its time in the limelight. Sure you could fire that baby up during any other months of the year, but there’s something about the summer heat that makes cooking outside feel like the exact right thing to do.
And with every new season comes a new shot at getting bigger and better. That’s what we’re here for: to give you the grilling tips that’ll make this summer the summer to end all summers. Until next summer.
We’ll start with some grill-prepping techniques, then move right on into our brightest ideas for fresh recipes that’ll make this summer tasty. Maybe you’re a hot dog and burger guy now, but by the end of this summer you’ll be whippin’ up Morton’s of Omaha Beef Tri-tips with the best of ‘em.
First, let’s get that grill in tip-top shape.

Prepping the Grill
The grill, like any tool, needs to be calibrated, sharpened or whatever other tool-prepping metaphor works for you and your line of work. Chances are your grill hasn’t been getting a lot of work over the last few months, so use this checklist to make sure everything’s running the way it should:
- Check for gas leaks: Gas lines that are exposed to the elements can come loose or lose some of their tightness. You don’t want any gas leaking around your house, so try this: Rub your gas lines with soapy water. If a bubble appears when the gas is running, that means there might be a crack that requires repair.
- Clean the place up: It’s easy to make your own grill-cleaning solution. Fill a spray bottle with one part water and one part distilled white vinegar. Spray down the inside of your grill and then close the lid and let it sit for an hour or so. The grime should come loose when you wipe it down.
- Invest in a good brush: We’ll get into the tools of the trade in more detail below, but the grill brush is a must for keeping your grill clean. You can find a sturdy brush with wire bristles at most hardware stores, grocery stores and sporting goods stores.
- Watch your flame color: Now we’re getting into some real thermodynamics. If you own a gas grill, you should expect to see some blue at the bottom of the flames. That means they’re nice and hot. But if the flames are all orange and yellow, there might be a problem. This could be a sign that the pressure from your gas valve is weak.
- Oil ‘er up: A thin layer of oil or cooking spray does two things—it keeps the grates from rusting and the food from sticking. This little bit of TLC will give you a bit more longevity out of those grates. All you need to do is coat the grates with a thin layer before cooking.
The Right Tools Are Key
Now it’s time for inventory. You can’t go out to that grill with a plate of steaks and nothing else in hand. Those cuts of beef will need to be handled, flipped and monitored. Make sure you have these tools at your disposal:
- Tongs: Pierced meat is a cardinal sin of the grill. So don’t go poking a fork in your hot dogs or your brats. It lets all the delicious juice drain right out. Instead, flip with tongs. We suggest a longer pair, around 15” in length. That’s long enough to get the job done while keeping your hand out of the flame.
- Spatula/Turner: The same rules as the above, but this time for burgers and steaks. In this case, it’s nice to have a couple of different lengths, depending on the type of meat you’re handling.
- Instant-read Thermometer: Internal temperatures are the backbone of effective grilling. Sure, some people can go by feel, but if you want to be positive your meal is ready to serve, you’re definitely going to want a digital thermometer. There’s one for every budget, but the results will be well worth the investment.
- Apron: Okay, this isn’t required. But a funny apron is the easiest way to get a chuckle out of your guests. Even if it’s at the chef’s expense.

Cook Something New
Half the fun of grilling is trying out new recipes. Of course, you should have your go-to’s—your favorite burgers and brats. But adding in a new cut will go a long way in spicing up your summer menu.
We have just the thing: the Tri-tip steak.
We may be biased, but our Morton’s of Omaha Tri-Tip Steak is pretty killer. It comes prepped and ready for the grill, and it’s full of traditional steakhouse flavor. But before you jump in, how about getting to know this particular cut of steak?
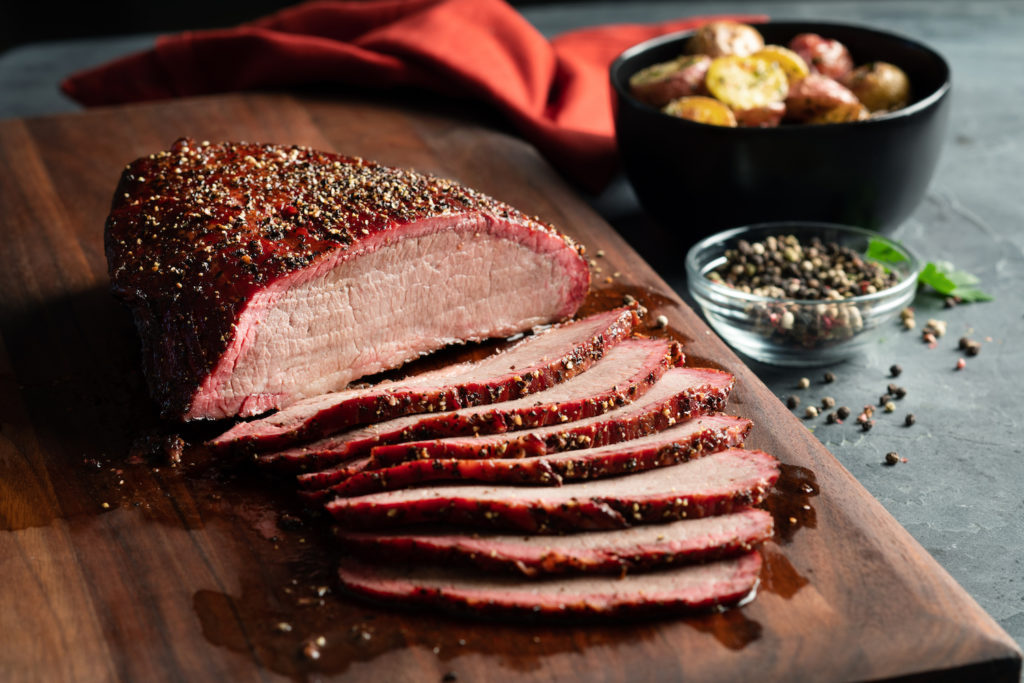
The Perfect Tri-tip Steak
First, a little background. You’ll know the tri-tip steak from its shape: a long
triangle of beef that comes from the sirloin. This cut of beef was made popular in California, but it’s gaining popularity across the country.
This cut is known for its tenderness and buttery taste. That taste comes from the tri-tip’s unique makeup — lean but with plenty of fat mixed in throughout. The best part is it’s far less expensive than other cuts of beef that have similar flavors, like ribeye. So for a regular summer evening dinner, this is your cut.
A few things to keep in mind while cooking a tri-tip:
- Bring the heat: The tri-tip responds well to both indirect and high heat. Just be sure to keep an eye on it. The meat can get tough if it’s left on the grill too long. Cook to an internal temperature of 140°F, and then let it rest for 15 minutes.
- Nail your timing: Due to the thickness of our tri-tips, cooking will take between 30 minutes to 1 hour to reach the internal temp of 145°F. And be sure to flip at least once to ensure even cooking.
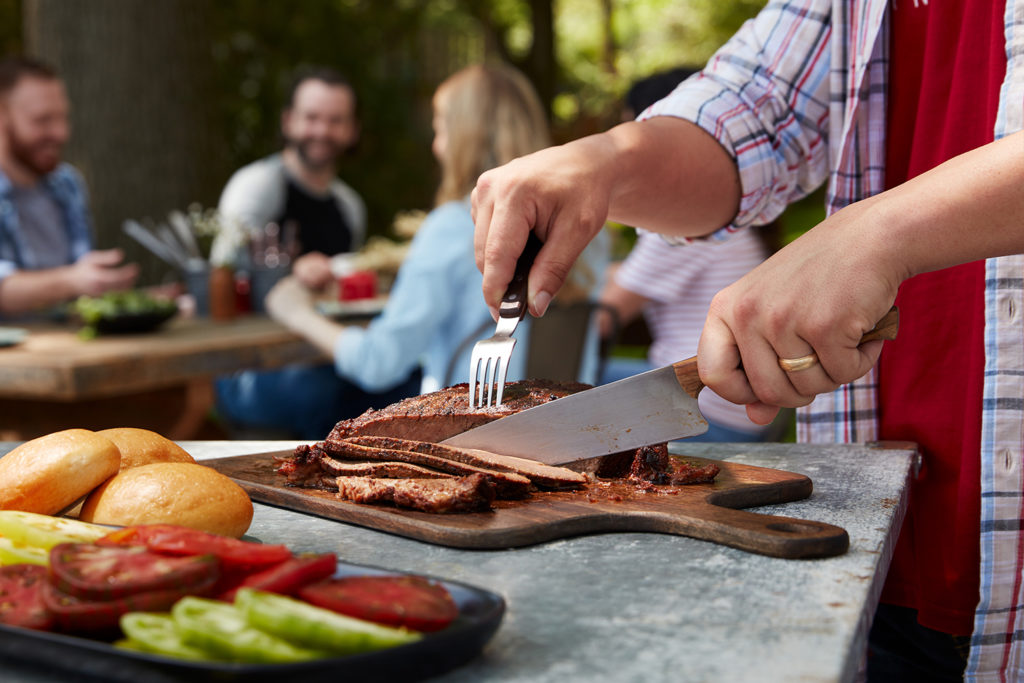
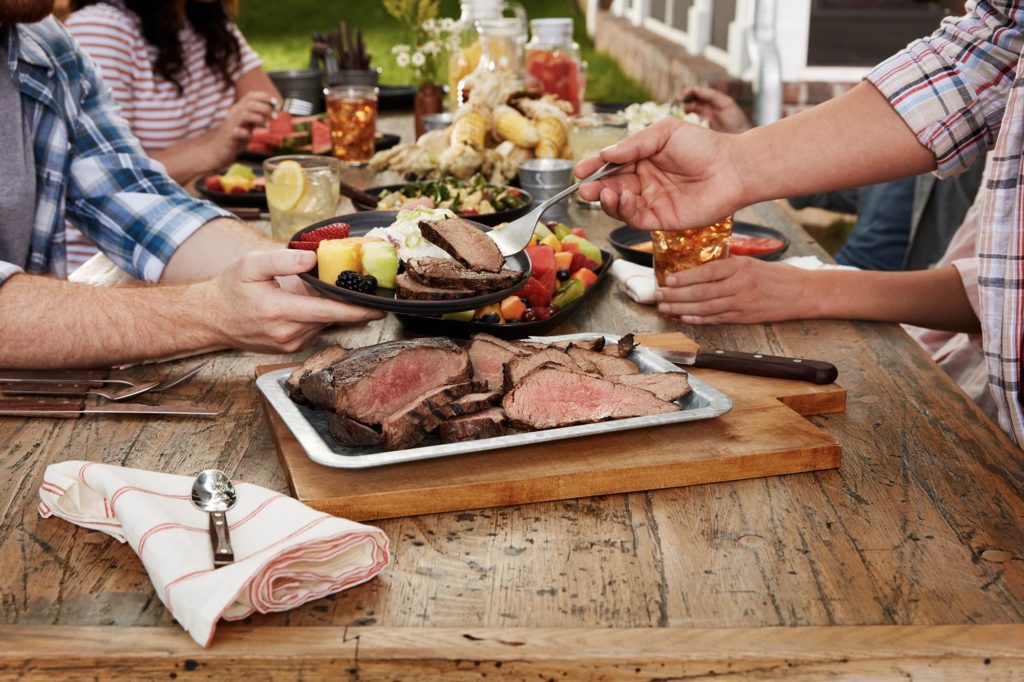
See You at the Cookout!
Now the grill is yours. Do get fired up. Prepping the grill might not be the most fun part of the summer season, but it’ll set you up to make some crowd-favorite dishes over the next few months.
And why not start with something new? Grab a Morton’s of Omaha Beef Tri-tip Steak. We’ll handle all the prep. You handle the grill.