Food Photography 101: How to Get the Best Meal Pics
Lights, camera, eat!
It’s grilling season – and everyone loves the sense of accomplishment that comes with preparing a perfectly cooked cut of meat. But if you’re not whipping out the phone to capture a pic, did it even happen?
Before your masterpiece disappears, you have to secure an Instagram-worthy photo to show off your skills to the world. Read on for pro tips to get the perfect shot that best captures your beef’s true beauty.
Choose Your Camera

If you have a nice camera, by all means, use it. But you can still achieve a good photo with your phone. In fact, most food photography today is captured on a smartphone. Use tripods and other accessories if you desire, but your smartphone is all you need to get started.
Natural Light is Key

… And we’re not talking about the beer (although that’s not a bad idea either). All jokes aside, open up the windows and let in that natural sunlight. Bring your plate to a window or shoot it outside in the shade.
Pro photographers use strobe lights to mimic natural light. Artificial lights can create unwanted color casts, making your food look flat.
Know Your Angles

In most cases, you’ll want to shoot overhead or straight onto your subject. Doing so creates a 90-degree angle that makes your pictures stand out. This will also allow you to fit more elements in the frame.
If you’re shooting sandwiches overhead, it’s better to show the build of the sandwich to highlight the ingredients, rather than the top of the bun.
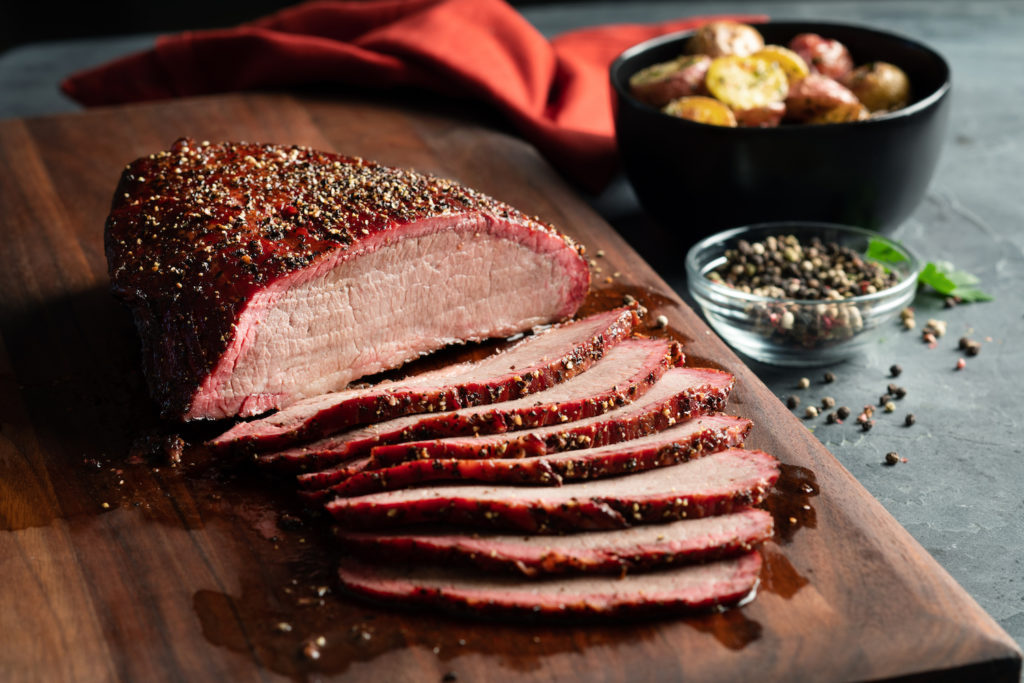
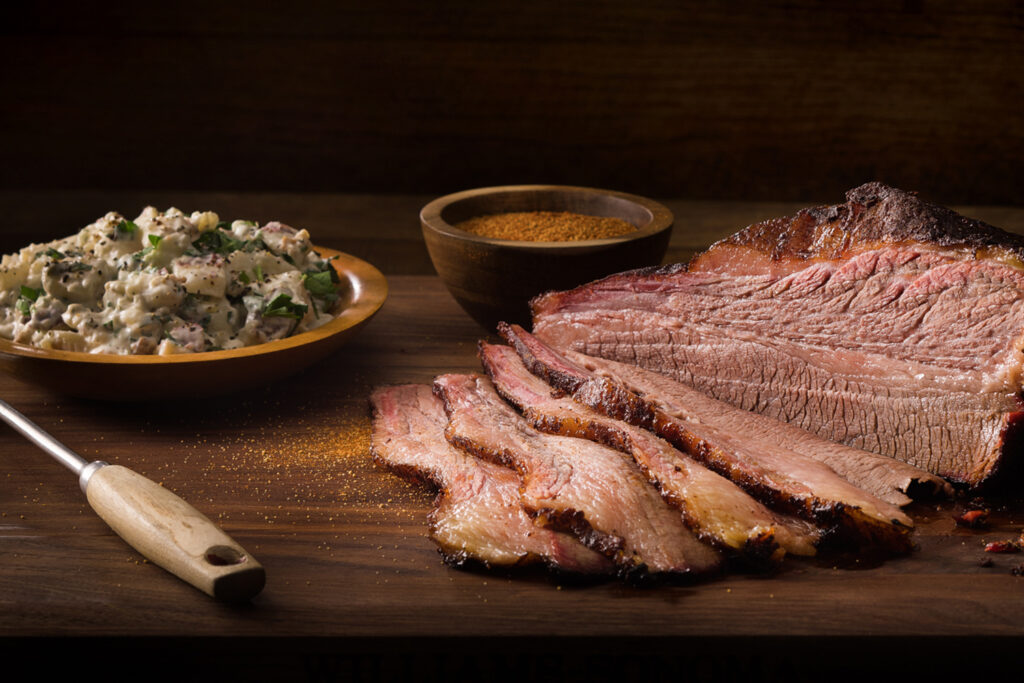
Use a Simple Background

Backgrounds that are too busy or colorful can steal attention from your dish. Keep your meal the star of the show and use a simple surface for the background, like your countertop or a wooden table.
Apply the Rule of Thirds

The rule of thirds is an essential photography technique. And if you’ve taken any photography classes, you’re already familiar with it. To use the rule of thirds, turn on the grid mode and use it to help your composition.
With grid mode, you’re basically dividing up your photo with the horizontal and vertical lines that appear on your screen. Put the subject of the photo along these lines or where they intersect, rather than the center of the frame. This will make your photos look more natural and more pleasing to the eye.
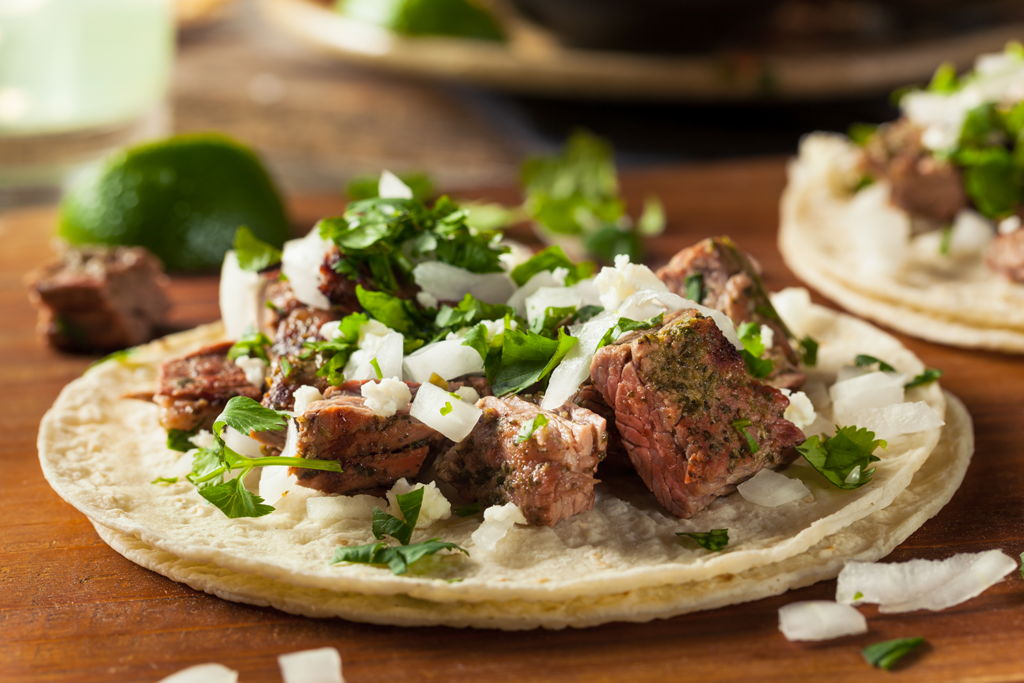
A Little Food Styling Goes a Long Way

Professionals always have a food stylist nearby. But if you want to try your hand at it, you can use herbs and other simple garnishes to enhance your photo.
Keep in mind that it doesn’t need to look perfect. In fact, slightly messy food photography can be just as appetizing. For example, sprinkle some seasonings over the cutting board, plate or countertop. You’ll add both appetite appeal and natural touch to help convey the flavor.
Avoid Filters, Adjust Values Instead
Filters: They’re great for selfies, not so much for food. Instead, adjust your exposure, white balance, contrast, and saturation. You’ll keep the integrity of your ingredients while enhancing your image.
Always Add Color

Not only should you eat your veggies – they add tons of vibrancy and color to your image! Colorful foods can really boost the aesthetic of your dish.
That’s a Wrap!
You’re all set to capture some quality food photography at home. Now all that’s left to do is pick up a Morton’s of Omaha Salt & Pepper Brisket or Texas Recipe BBQ brisket, snap some yummy photos – and most important – enjoy an easy-to-prepare meal.
If you use any of these photography tips, be sure to share them on Instagram and tag us @mortonsofomaha. We’d love to see your creations.